Sunday, December 29, 2013
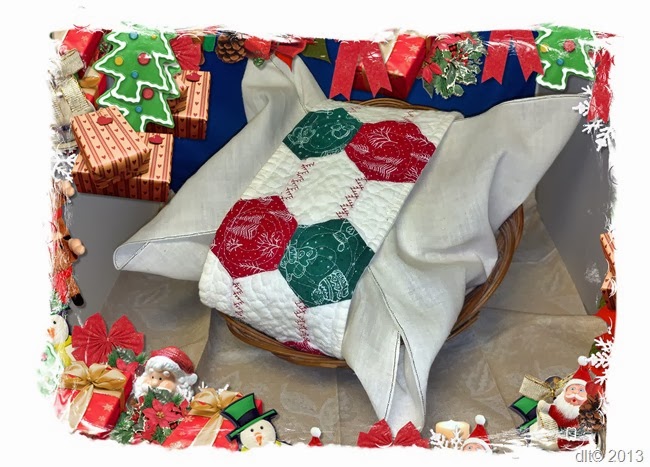
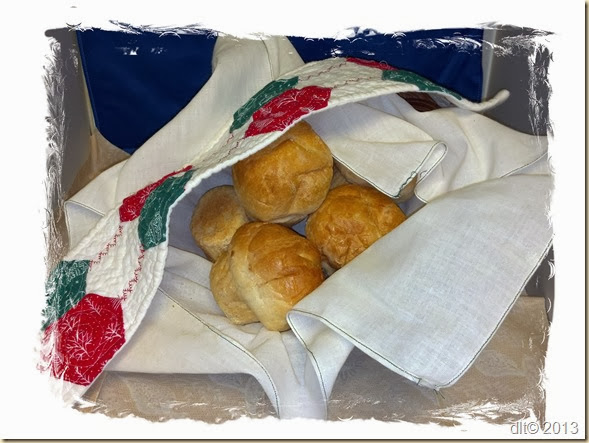
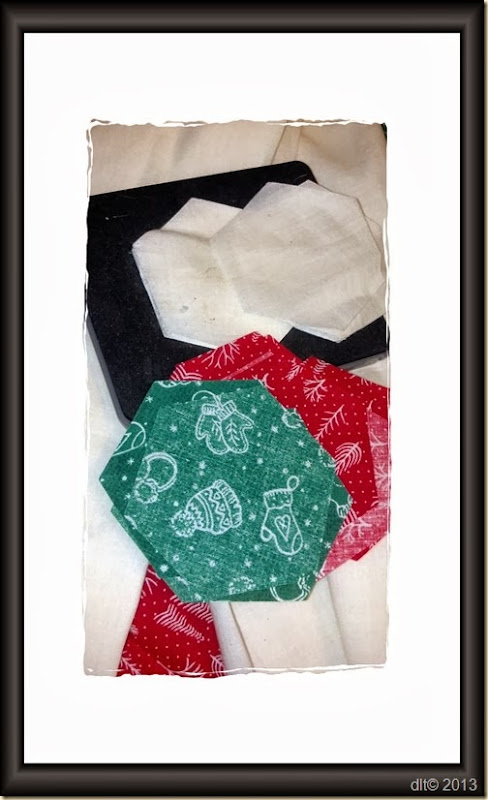
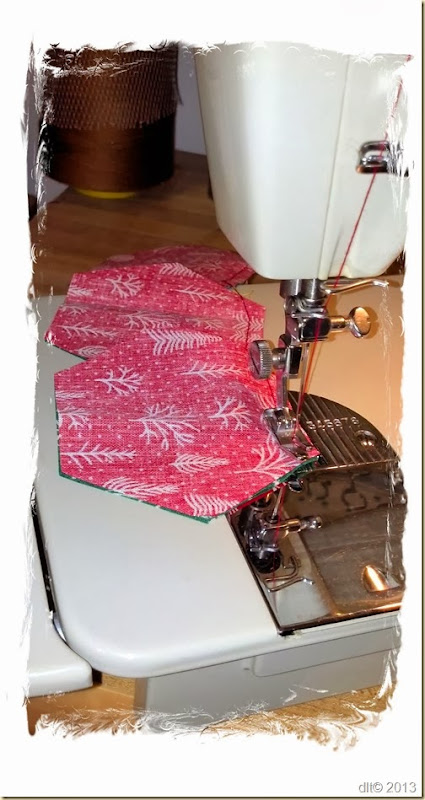
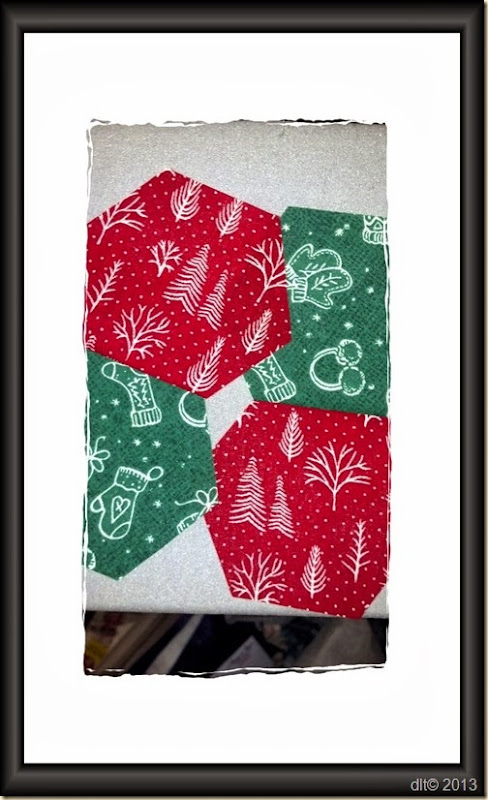
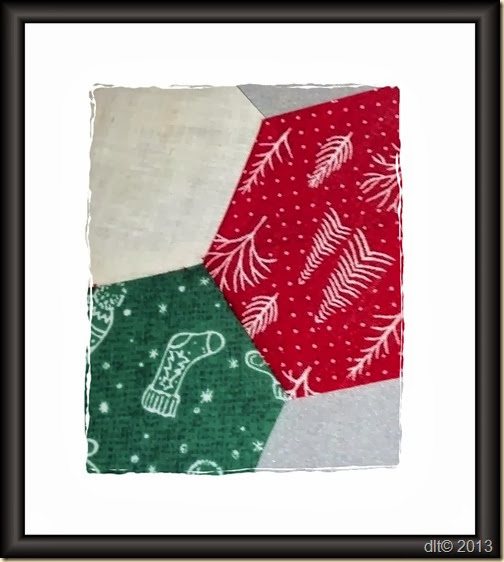
A Bun Warming Quilt for the HOlidays!
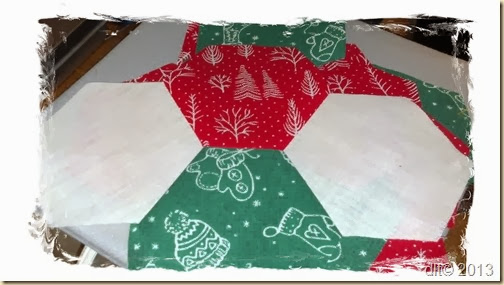
Quilted Christmas Gift!
Quilted Christmas Gift!
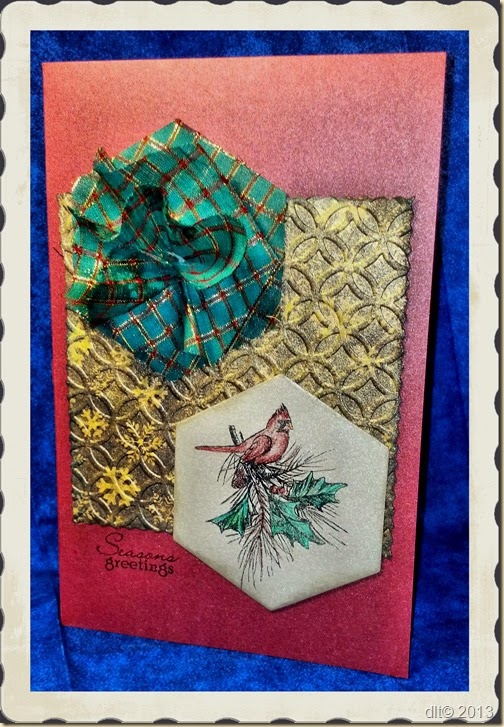
Season Greetings
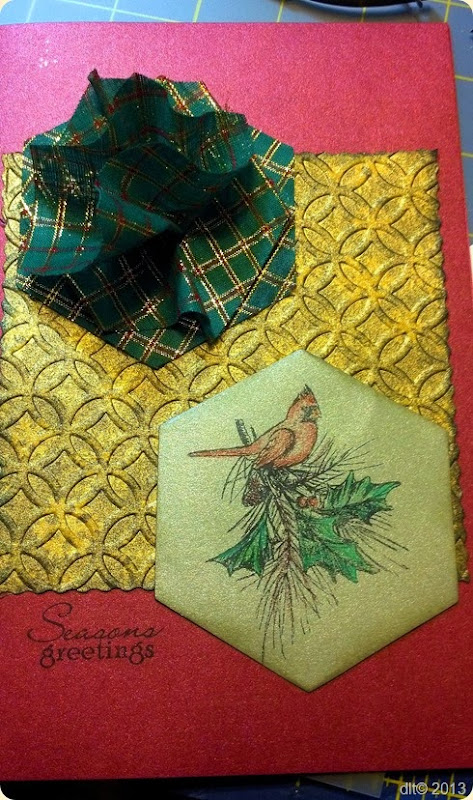
Season Greetings a Card for Bud
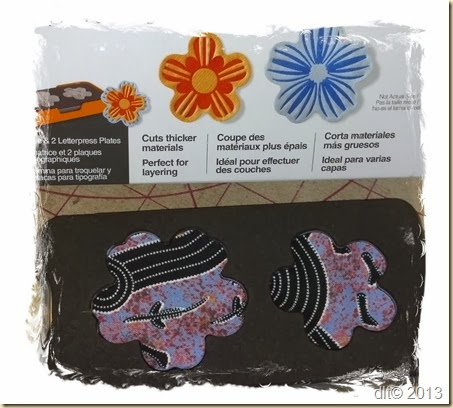
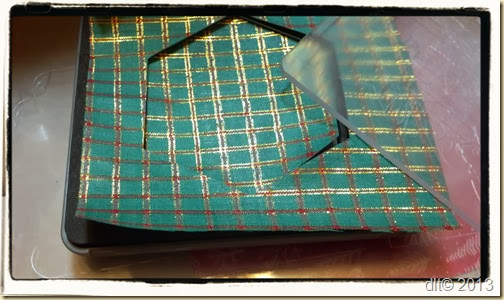 The sandwich for the fiskar’s fuse dies are three A-plates under the die and one on top. I am so happy that I have those extra plates. You can purchase extra plates at many places online.
Thursday, December 26, 2013
A New Treat for My Creative Outlet!
A New Treat for My Creative Outlet!
Well with 2013 almost over, I found a new fun scrapbooking focus. I have decided to work on tag journals. I have never been interested but working with these great Theresa Collins collections have changed my mind. I am having a blast and loving all of the great embellishments and papers that the Happy set includes. It is a new day, a new year is on its way!
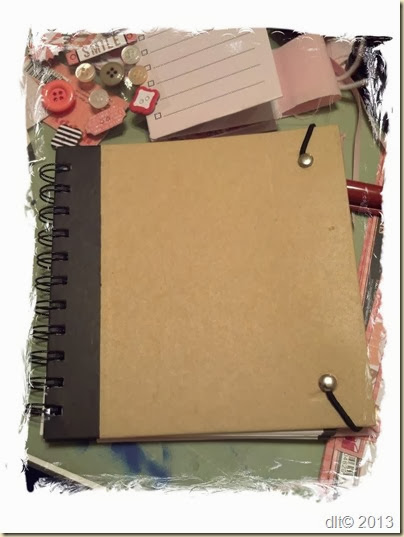
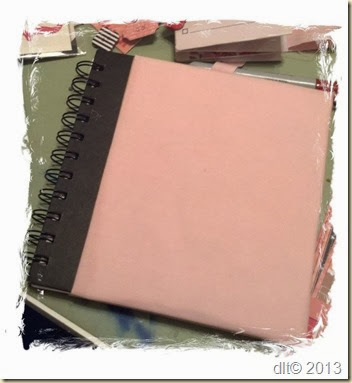
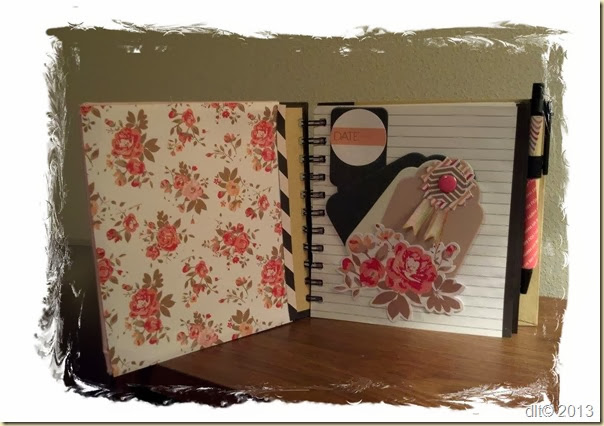
I found these great kraft paper covered booklets at the flea market for 25 cents each. I love them. They even included a kraft paper covered black ink pen . I felt that it was time to dress it up and Theresa Collins inspired me with her wonderful line called “You are My Happy”! I love all of the great embellishments that she has created in this wonderful series!
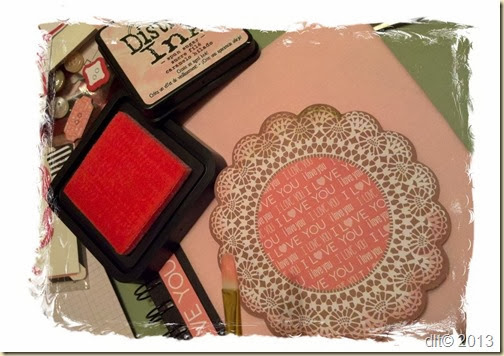
This Journal has a medallion with a pocket filled with tags for adding all of my inspirations, and secret smiles! I used a paper towel roll to create a pocket inside of this medallion.
Here are my supplies:
Kraft Paper Journal
Fabric and batting to be placed on the front of the journal
Glue
Sizzix Tag die
Craftwell eBosser ( my favorite)
Tim Holtz Distress inks for edge applicatons.
here we go!
I stretched the fabric with batting under it on the surface of the front cover. Next I cut and covered the inside of the front cover. I love this book..
I used the distress inks to add richness to the edges of my wonderful center embellishment. I love the blush color.
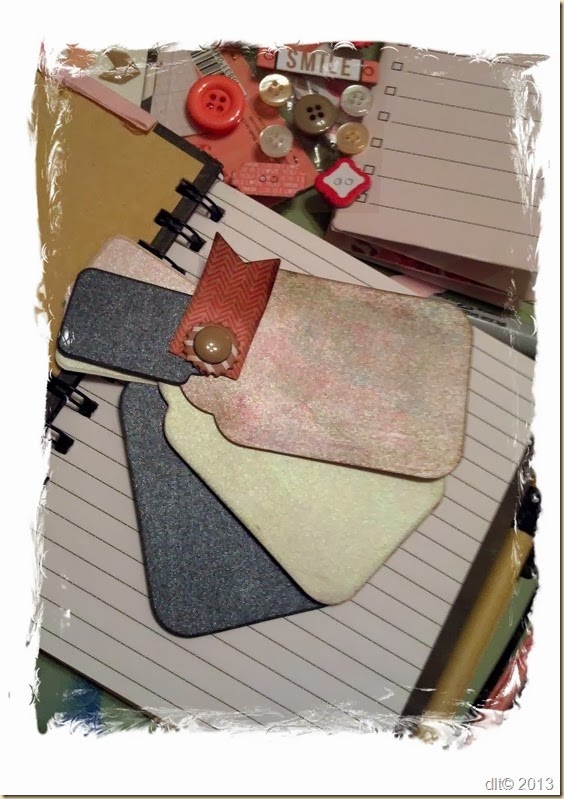
I love my sizzix tag die and can make up to eight layers of pearl paper in it. I love these tags. Theresa Collins had the most wonderful brads to complete my tag labels!
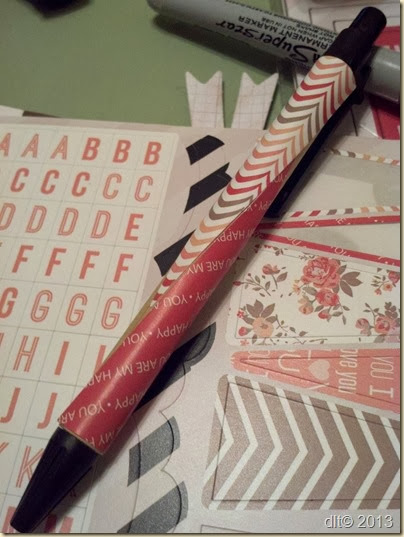
I was able to cover my pen too! I am loving this!
Inside front cover and first page with another tag booklet and also a floral pocket. I can’t wait to do more work and fill my book as I go along. I hope that this coming year brings all of us great opportunities and always the richness of great friends!
Happy New Year!
Debi
Friday, November 29, 2013
Sweet Little Embellishment!
Sweet Little Embellishment
I am having a great time getting ready for Christmas. I am working wildly on sewing projects right now. So it only goes hand in hand that my eBosser should be included in the trip!
So I decided to do a quickie project so that I could take care of and still have energies for the Thanksgiving marathon.
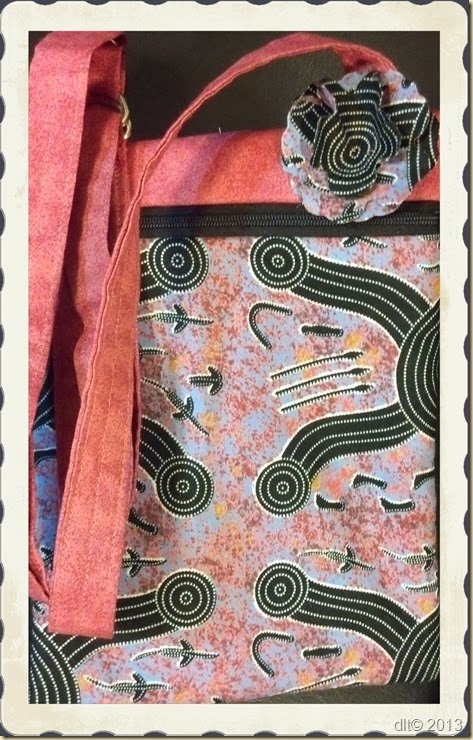
Fiskar’s Mini Design Set Flowers is what I have chosen to use for my embellishment on my Hipster purse.
Supplies:
Any small shoulder pouch (I used Embroidery Garden’s Hipster in the hoop embroidery project for my project)
Fabric to match purse
Heat n Bond to sandwich in-between the fabric to be cut
Four A-plates for the sandwich. I used three on the bottom and one above the material that was being cut.
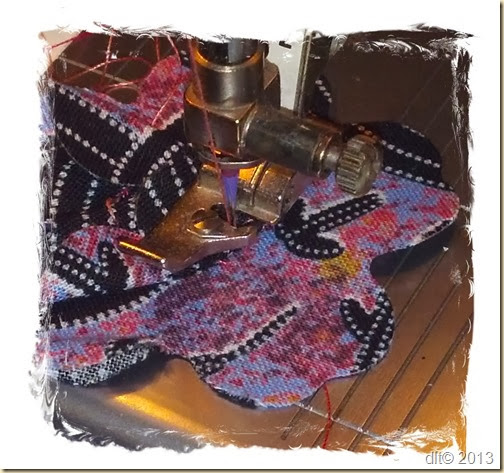
thread and a needle or a sewing machine to attach the flower.
I sewed the small flowers on top of the two larger ones. Then I tacked them on my purse. Very simple but still added the touch I needed.
This really did take the bare envelope appearance and added just a nice touch to this cute bag. Please come to my blog for more information on the Hipster pattern.
I hope you had a wonderful Thanksgiving and now the fun part starts getting ready for Christmas,
Best, Debi
Wednesday, November 27, 2013
Fun with Cheery Lynn Dies Part 1
Fun with Cheery Lynn Dies
Part 1
This is a two part project post as it requires a little more to give non-sewers options to make the finished product. I don’t want to spoil the reveal so I will tell you the method and techniques I used for the parts I made this week. You have to come back next week to see what the final project is…
I am so excited to do this so…
NO PEEKING
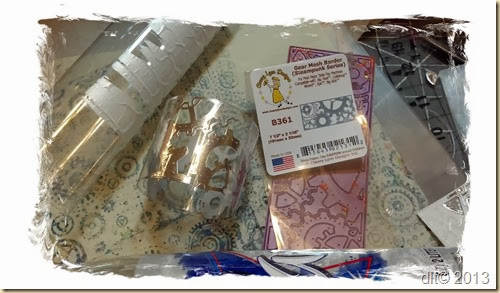
Well you can see by the photo that this is a recycling project and I will also share that it is a fabric project too! I am making another of those cool Steampunk items for my crazy relative. I decided to make my gift a super neat kind to the environment recycled project. I am using a two-liter soda bottle to make my special rings.
So here is the supply list:
a two liter soda bottle with the top and bottom cut off
I used a rubber band to roll the plastic very tight and left like this for several days.
Aluminum duct tape
Cheery Lyn Gear Die (LOVE THIS ONE)
Craftwell eBosser
Sandwich:
A, B, C, D
Masking tape to transfer the tape to the plastic
A bone folder to smooth the tape
I first cut the Gear Die out of the aluminum tape . I love the sharp cut I get using the Craftwell eBosser. I then place the masking tape over the metal tape after I weeded the unwanted parts off of the piece.
I cut the plastic from the two liter bottle to the size I wanted very close the the size of the aluminum tape’s width. I next transferred the design to the plastic. I used the bone folder to rub the design onto the plastic to secure it.
Now it is still a mystery project until the reveal next week but if you look closely you can see a special hint in the photo. There may be a pressing of fabric around. I am so excited and can’t wait to show you the second half. So while you wait can you venture a guess as to what I am making? Please leave a comment below for me! Have a great week and get ready for the second part next week.
Debi
Something new for me
Saturday, November 23, 2013
Fun with Cheery Lynn Dies Part 1
Fun with Cheery Lynn Dies
Part 1
This is a two part project post as it requires a little more to give non-sewers options to make the finished product. I don’t want to spoil the reveal so I will tell you the method and techniques I used for the parts I made this week. You have to come back next week to see what the final project is…
I am so excited to do this so…
NO PEEKING
Well you can see by the photo that this is a recycling project and I will also share that it is a fabric project too! I am making another of those cool Steampunk items for my crazy relative. I decided to make my gift a super neat kind to the environment recycled project. I am using a two-liter soda bottle to make my special rings.
So here is the supply list:
a two liter soda bottle with the top and bottom cut off
I used a rubber band to roll the plastic very tight and left like this for several days.
Aluminum duct tape
Cheery Lyn Gear Die (LOVE THIS ONE)
Craftwell eBosser
Sandwich:
A, B, C, D
Masking tape to transfer the tape to the plastic
A bone folder to smooth the tape
I first cut the Gear Die out of the aluminum tape . I love the sharp cut I get using the Craftwell eBosser. I then place the masking tape over the metal tape after I weeded the unwanted parts off of the piece.
I cut the plastic from the two liter bottle to the size I wanted very close the the size of the aluminum tape’s width. I next transferred the design to the plastic. I used the bone folder to rub the design onto the plastic to secure it.
Now it is still a mystery project until the reveal next week but if you look closely you can see a special hint in the photo. There may be a pressing of fabric around. I am so excited and can’t wait to show you the second half. So while you wait can you venture a guess as to what I am making? Please leave a comment below for me! Have a great week and get ready for the second part next week.
Debi
Sunday, November 10, 2013
Laying Down the Gauntlet
Laying Down the SteamPunk Gauntlet!
I am so inspired by fabric after coming back from the International Quilt Market and Festival. I had the pleasure of seeing many of the new fabrics and ideas coming right around the corner. So I have new drive to create with fabric. Besides the holiday season always is the reason for me to sew. I always try to do a handmade holiday. So bring it on…LOL!
Here is my project using some great Cheery Lyn Dies!
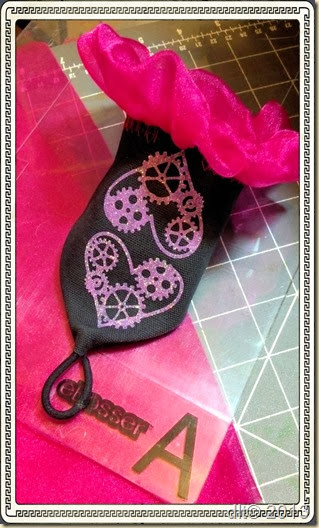
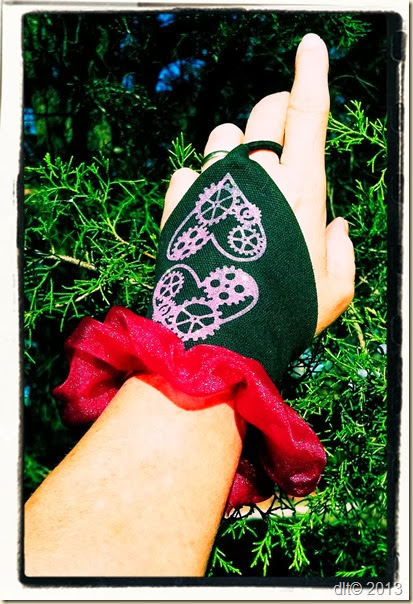
This is my Steampunk Gauntlet for one of my Steampunk loving relatives!
I love my Cheery Lyn Dies and how wondefully that my Craftwell eBosser can cut fabric and vinyl too! So here is my project list.
Supplies:
Black Cotton material
a ponytail hair band
Sewing machine
thread
iron
pink organza
cutting tools
hook and loop for closure on wrist.
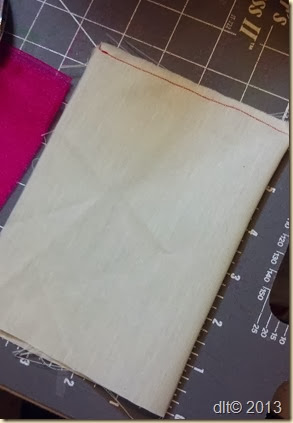
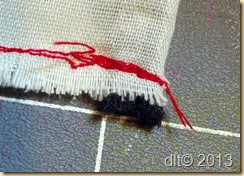
Cut a rectangle out of the fabric. 6.5 x 11 inches. Sew the top together, remember to insert the pony tail elastic.
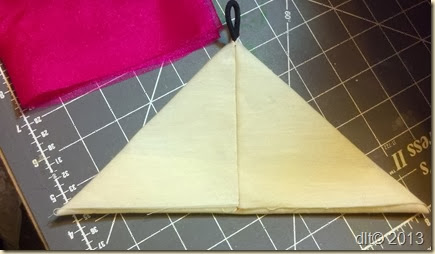
Now press the rectangle open to form a triangle.
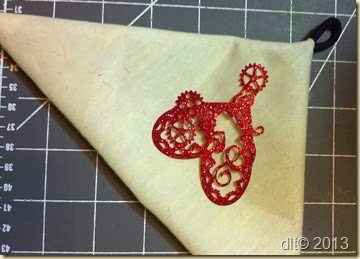
I now will take a break and cut my heat Glitter Vinyl with my eBosser. It is very simple. I used plates DBC on the bottom, Next the Cheery Lyn Die and then the vinyl on top and lastly the A plate. It only takes a second to cut and iron on my fabric!
Next I gathered my organza and sewed it on the long edge of my “glove”. I then added the hook and loop to fit! I can’t wait till I see her face on Christmas morning! Wait till you see the great sewing and quilting projects I have in store for you!
Friday, October 25, 2013
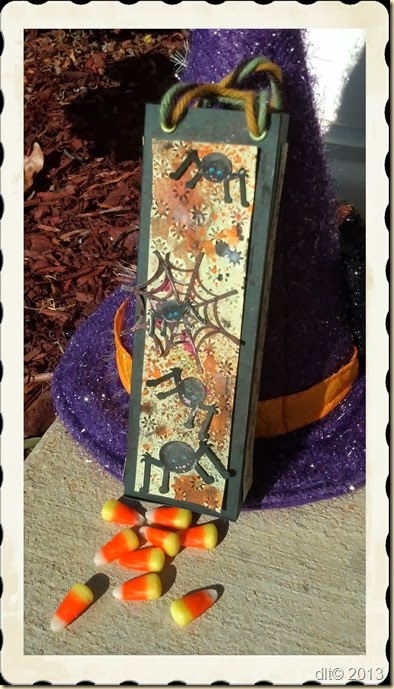
A Treat Box of Creepy Delights!
A Treat Box filled with Creepy Delights!
Well Halloween is here and now it is time for the goodies. I love treats and love making them even better looking!
So here is my Spider ladened treat box.
Supplies:
- Box SVG files from SVGcuts
- the Spider and web were free files from SVGcuts
- Craftwell USA’s eCraft
- Teresa Collins Starburst Embossing Folder
- Craftwell’s eBosser
- Dylusions inks
- Xyron tap runner
- Chalk inkadinkaoo
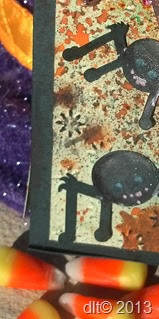
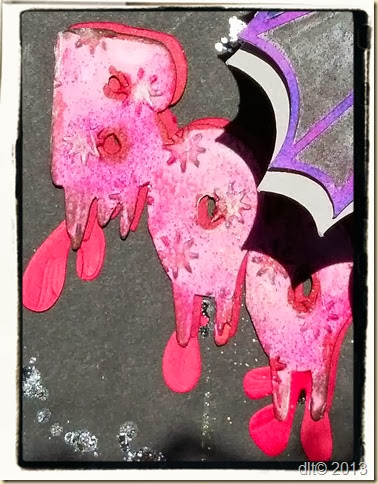
This one is a no brainer…lol. I made up the box and embossed my embellishment tile. I love the drips that I produced with the dylusions ink. I love the Teresa Collins line of embossing folders. I hope that she creates more and more!
I wish you the best of Halloweens and of the up and coming Holiday season!
Please if you are going to Houston’s Quilt Market come and meet me at the Janome booth. I will be demostrating the Craftwell eBosser there!
See you in two weeks!
Debi
Thursday, October 17, 2013
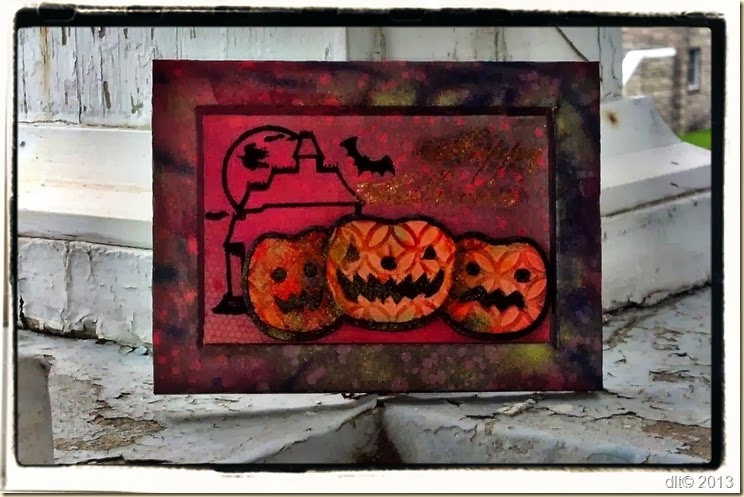
Shadows of Halloween!
Shadows of Halloween!
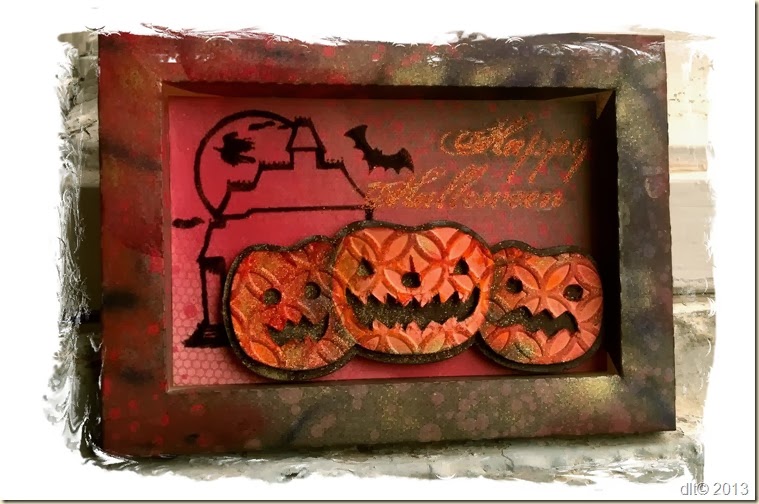
Well Halloween is just around the corner and I found the cutest shadow box file going. I knew it was for me and for my Halloween picture project. (By the way if you are attending the Houston Quilt Market come and meet me and the Craftwell eBosser. We will be in the Janome booth. I would love to meet you and show you how to use one of the most wonderful machines going the eBosser. ) Let me get back to my project. I am so excited I can’t help it.
So Here It Is!!!
This was so much fun to make and I learned so much about making a shadowbox with one sheet of paper. It was amazing and fun.
Supplies:
- paper for frame DCWV Teenage Dream Stack love the splattered look
- Inkadinkado blending chalks
- metallic markers and Air Spritzer
- eCraft Diecutable Color Mates solid color paper
- Pumpkin file SvgCuts free file
- Shadow box from Lettering Delights
- eCraft
- For the Haunted Mansion in the back ground I used We R Memory Keepers Foil Glitter Flock Rub On Kit
- Xyron Tape Runner (my Fav)
This was very easy I cut out my frame and pumpkins. I then used my eBosser to impress my pumpkins with the Décor Circle design. I love the look and feel of this design.
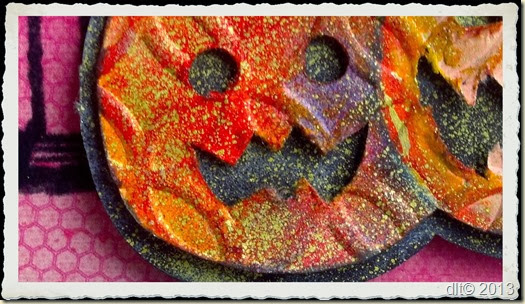
Craftwell’s eBosser provides crisp outlines and simply beautiful control over my projects! You can see that I used my chalks to highlight the design and then sprayed the metallic marker on top. I love the rich colors I achieve.
The flocked and glitter rub ons where placed on the picture plane right before I mounted the Pumpkins. I love my Shadow Box.
I love Halloween and can’t wait to see what is ahead!
Happy Halloween,
Debi
Thursday, October 10, 2013
A Calorie-Free Treat!
A Calorie-Free Treat!
This is a great time of year! I love the new to me experience of the changing of the seasons. The Chill in the air and the feeling of anticipation for the things to come. So why not get in the Halloween spirit and move the good times along!
This is my contribution to the wonderful world of adult non-caloric treats!!!
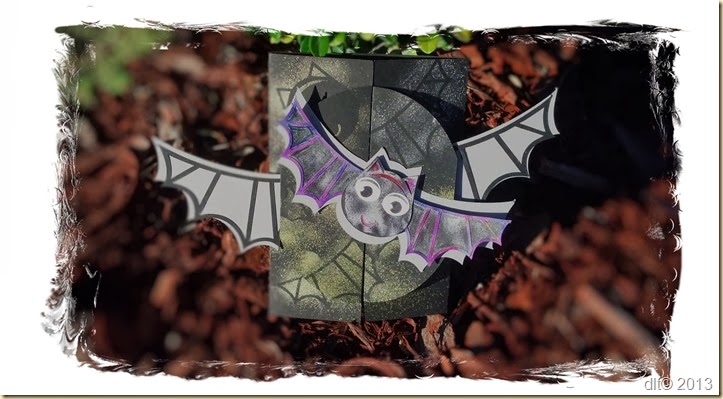
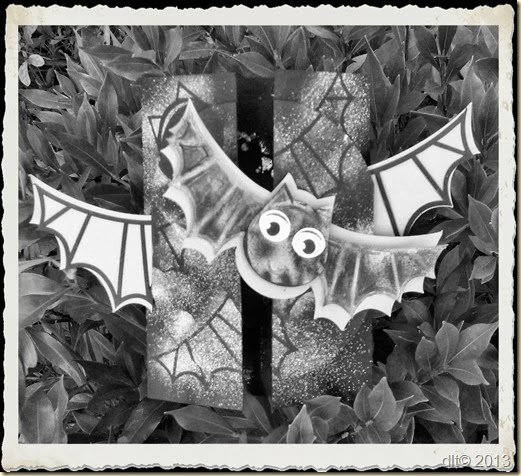
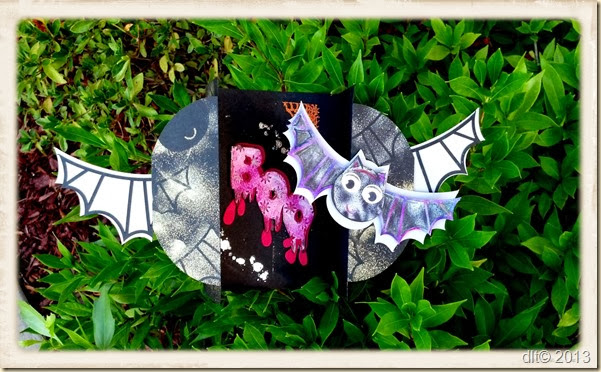
This year I will be away from home and want to scare (in a fun way) my buds! So here is my fun card idea! I used recycled items again to build the foundation of my card.
I love stenciling or masking as a way to achieve a focal point to my back ground. So here is my recipe!
- Cereal Box
- Chalkboard acrylic paint
- Bat file from Miss Kate’s Cuttables
- Card File from Miss Kate’s Cuttables
- eCraft
- eCraftshop Pro
- Craftwell’s eBosser
- Color Spritzer Tool
- Scraps of Cardstock
- Assorted chalks and stamp pads
- Teresa Collins’ Stardust embossing folder!
- Gold and silver markers used with the Color Spritzer Tool
- Foam dot adhesive and Xyron Megarunner
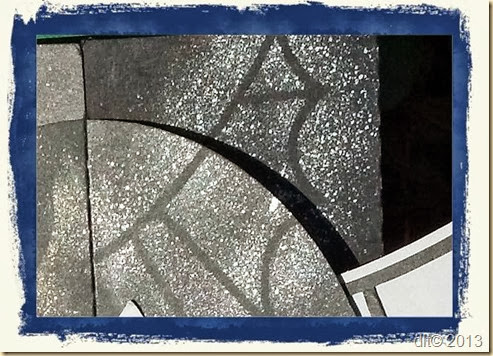
I first took the cereal box and cut my card out of it. I then coated it with the acrylic chalkboard paint. I had cut out several bats and used the scraps left over to use as stencils or masks to decorate the background of the front of my card. So I laid out the wing shape and used my Color Spritzer tool loaded with a metallic marker to “airbrush” the background.
I also wanted to have maximum “Shock” value when the card is opened so I used Teresa Collins Embossing Folders to create a frightful Boo!
I love the surprise door opening look. I wanted to have pulls to open the “door”, so I used larger bat wings to provide that effect. I have a so much fun designing this one!
(Barbara they are coming for you….)
line from George Romero’s “Night of the Living Dead”
And here is the frightful reveal!!! Happy Halloween and many more!
Debi
Friday, October 4, 2013
Recycling Halloween Spirits!
Recycling Halloween Spirits!
I love Halloween, it is a wonderful holiday filled with creativity and fun. I love the costumes and all of the camaraderie that we all share.
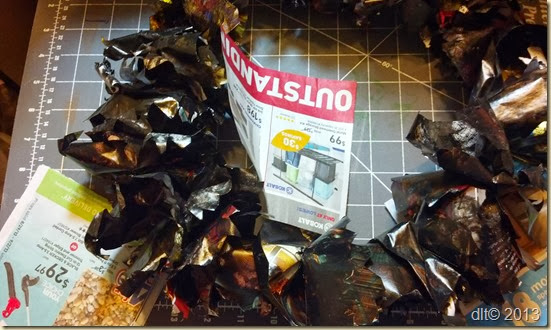
I love creating unique items for my Halloween décor. So this year I decided it was time to use those junky paper sales flyers in my newspaper for something fun.
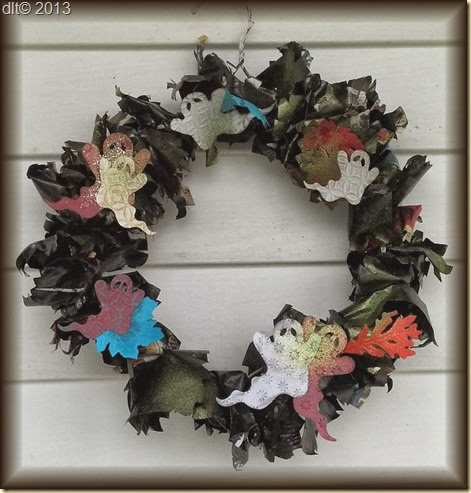
A Haunted Wreath!
So easy and fun to make!
Supplies:
one wire hanger bent in a ring
bottle of acrylic paint
squares of junk paper with a slit cut in
Pearl Paper to make the ghost
Craftwell eBosser
Teresa Collins assorted embossing folders
Glitter
Lots of fun.
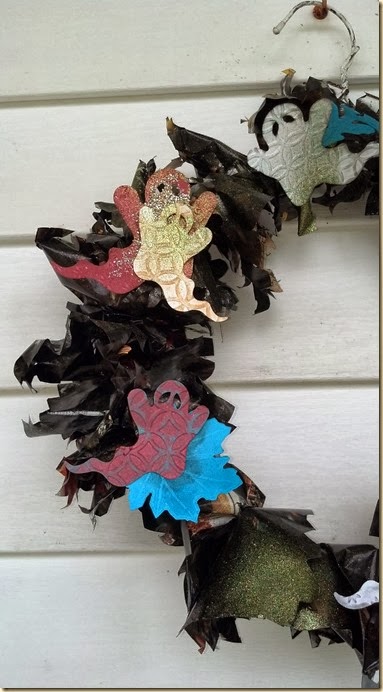
Steps: Take the bent hanger and paper squares. I tear a hole in the center of each of the paper squares and coat them with acrylic paint. I use my hands and get covered with paint. I love doing this. Now at first you will think it won’t work and then all of the sudden the papers dry up and start filing out your wire form.
I love the texture from the acrylic on the junk paper. I let some of the type show thru and it makes a wonderful indoor decorating item. Once dry then you can put on your embellishments.
I chose to make ghosts and leaves to haunt my wreath. I applied the texture to the paper first. I love my Teresa Collins Embossing Folders, and I used them to texture my ghosts.
I used the Stardust and Décor Circles to emboss my Ghost. Then I smeared colored glitter glue on all. I love my wreath and can’t wait to make more of them. Please join me in using items that we normally throw away to create fun.
See you next week!
Debi
