SVGcuts

Thursday, May 24, 2012

Summer Fun Décor!

Summer time Décor!

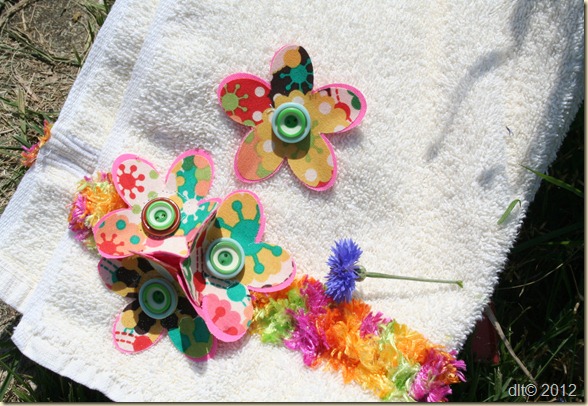
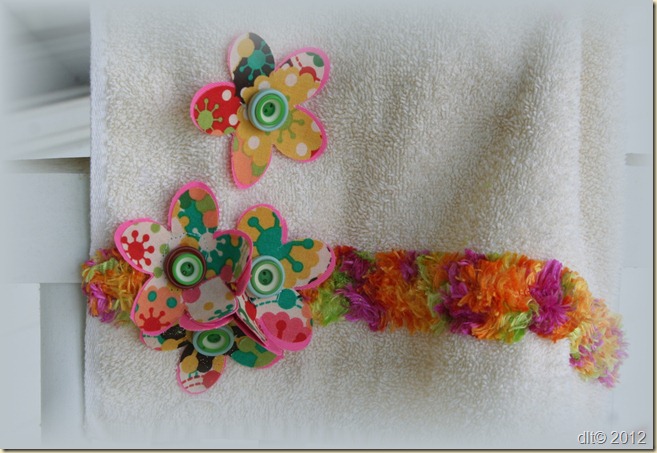
Summer time is a time for family and friends to visit. I decided to fix up my bathroom with some crafty hand towels. I could embroidered them but decided to see what my eCraft and I could create! And wow again it was wonderful and I am ready to share my outcome with you!
IMG_5728
Supplies:
  • quilting weight cottons for flowers
  • heat n bond from JoAnn's Fabrics
  • colored buttons four large and four small to stack
  • a straight stitch sewing machine or fabric glue
  • pre-made length of trim to cover the towel band
  • iron to attach the heat n bond
  • CraftwellUSA’s eCraft Die Cutting Machine
  • eCraft’s Fundementals 1 sd card for the flower
I love this and it was super easy. I used my iron to place the heat n bond on my fabric. I then using my eCraft ProSoftware filled my mat with flowers to be cut out of the fabric. My eCraft makes quick work out of making fabric flowers!
I sewed down the trim along the towel band. You can use perm fabric glue as well. Then I stacked my buttons and used them to attach my flowers to my towel. I love the home décor that I can create with my eCraft.
Think about the gifts you could make for friends and family with this wonderful machine!
towel
I wish you a wonderful Summer!

Friday, May 18, 2012

Happy Mother’s Day to Me

Happy Mother’s Day to me!

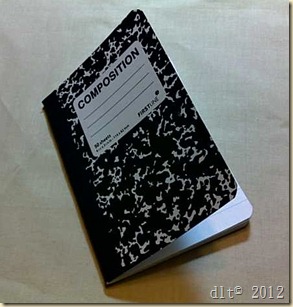
Well this is certainly a change for me. I have always wanted a personal little book to carry around to record my thoughts. I know it sounds different but I love those little composition books. You know the ones..
051120123103
But I want pizazz and color and a neck ribbon with a pen attached. To much to ask for you might ask…NO! Not with my
CraftwellUSA eCraft we can make my dream come true..
Supplies:
  • CraftwellUSA’s  eCraft die cutting machine
  • cereal box chipboard
  • Fabric
  • Heat N Bond
  • Artificial Flower
  • Xyron Mega Runner
  • Extra Large RikRac from Plum Deals
  • Ribbon
  • Fimo Clay from JoAnn’s Fabrics
  • Fun Fun Fun
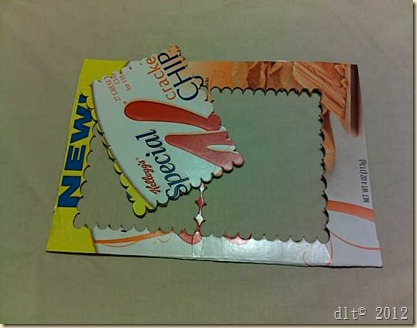
Here we go. I first cut my bookend shape from both the cereal box chipboard and my main fabric with the same shape. I used Heat N Bond on the fabric so I could attach it to the chipboard.
051120123101
051120123104
My eCraft cuts chipboard like a champ. I did use a pressure setting of 8 and multicut of 2 for the chipboard. I did not use a mat at all. The fabric cut with a pressure of 4 and again I did not use a mat.
I then cut a piece of fabric long enough to cover my little notebook.. I used enough to cover it from the inside seam to the other seam. I will carry this all the time. I have always wanted a little journal for quick thoughts.
051120123105
I used my iron to bond the fabric to the chipboard. It quickly bonded and I was ready to attach it to the exterior of my booklet, but first to make a pencil holder and closure to keep my booklet closed when not in use.
051120123107
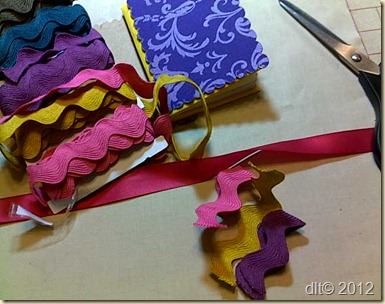
I used extra large Rik Rac that I had gotten from “Pick Your Plum” a daily deal site. I love Rik Rac.
I cut three pieces large enough to hold a pencil and then placed two on one side the of holder, and one in the middle on the other side. When your pencil slides into the ric rac it locks the booklet closed. Xyron’s Mega Runner did a wonderful job of attaching my outside cover.
051120123112
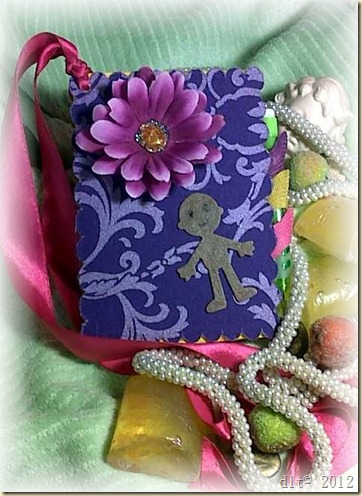
I also cut a little “me” out of Fimo clay. You can cut this with the eCraft . The trick is to make a thin sheet and then bake it till it is almost done. I did use a die cutting machine for this project however.

051120123111 
Here she is ….Happy Mother’s Day to Me! and Belated to you too! I love making items with my CraftwellUSA’s eCraft Die Cutting Machine.  See you next week!

Love to Make Gifts!

Gift Making Time Again

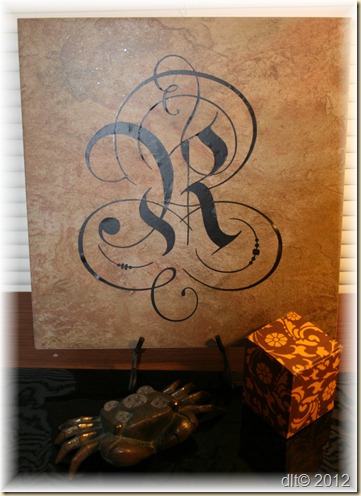
I love the opportunity that this Month offers. Mother’s Day is very special to many of us. I love to make gifts to show my love for those who mean so much to me. Funny as it sounds I have several friends that aren’t Moms in the traditional sense but still deserve the title. So when I was out and about shopping with a good friend, she saw a monogrammed tile and was so wanting one. I held my breath and my mouth and knew my Craftwell eCraft could pull this off easily!
tile
Supplies:
  • Tile from Lowes
  • Craftwell Vinyl from Fotobella
  • Craftwell tool kit (I love it)
  • eCraft Pro Software and a TTF font (you can use any on your computer)
  • transfer tape (masking tape)
  • Picture stand from dollar store
  • Purpleberry eCraft Die Cutting Machine

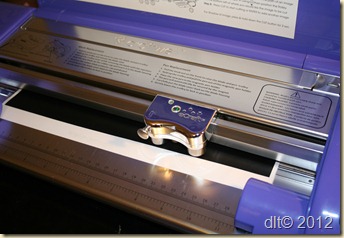
I love cutting vinyl with my eCraft. The settings are so easy.. Pressure 1, No tabs and No mat just feed the vinyl in and go. I edited the letter in my software and then sent to the machine.
IMG_5342
I love the way my machine cuts vinyl.
Next I weeded my image, this task was made easier with the use of my pick which comes in the Craftwell tool kit.  Next I applied masking tape to the image so that I could place and adhere it to the tile.
IMG_5343
I am so pleased with the outcome and delighted to see how thin my lines actually cut. I did use a new blade but was just so delighted with this cut!
Next week a fabric surprise for mom! Happy May to all, I love spring!

Thursday, May 3, 2012

More Fun Recycling with the Ecraft

Recycling plastic bags with my eCraft!


Again with the Summer rushing in. I decided to make another recycled project to make with my grand-daughter. This one project could be used in so many other ways as well.
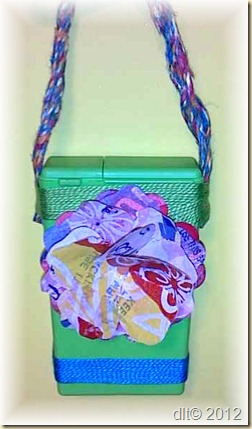
I was so excited to try this with my eCraft. I made plastic shopping bags into ecraft cut able fabric. It is so easy and there are so many applications you could use it for. I also used my Xryon Meg Runner to decorate my doll handbag creation.
dollpurse
Supplies
  • Plastic grocery bags
  • an Iron
  • Cardstock to press the bags with
  • small hard plastic box
  • colored twine
  • Baker’s twine
  • painter’s tape
  • Xyron’s Mega Runner
  • Xyron’s 1.5 Create-a-Sticker
  • CraftwellUSA’s eCraft Die cutting machine
  • Veggie cutting mat
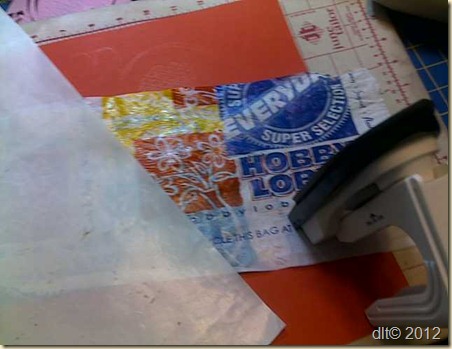
The first thing that I did was cut my shopping bags apart. I made five layers of rectangles with the bags. I made 12 inches wide and 10 inches deep to fit my veggie cutting mat. I then smoothed the plastic and placed it between two sheets of cardstock and used my iron to heat it and make it stick together first.
042620123031
Next I taped the plastic to my mat and placed in my eCraft. I used a petal design that come on the Fundamental's one card to cut out my blossoms. I was really surprised that the cutting was so easy. I also cut the base flower out of cereal box.
042720123036
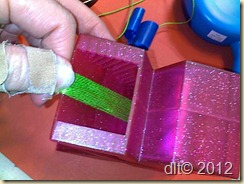
I layered the flowers together and used a small brad to stack them together. Next for embellishment I used my Xyron’s 1.5 Create-a-Sticker to create a twine boder for my dolly bag. It was also very easy. I took painter’s tape and placed it on a small plastic box. I was able to wrap baker’s twine (solid) color very tightly around it. The painter’s tape held it together. I cut the twine right above the tape and then ran it thru my Xyron’s 1.5 Create-a-Sticker to make a continuous ribbon of twine to run around the top and bottom of my little “purse” I also used some multicolored cord to make a handle.
042720123040042720123041042720123042
I also place the handle cording under this adhesive border. I then used my Xyron’s mega Runner to place the Flower focal point on the front. I love it and hope Reilee’s dolly will too!
This has been so much fun finding items to recycle and yet share with someone that means the world to me. I love sharing my love of crafting with her!
Have a great week more to come next week!
Debi