SVGcuts

Showing posts with label Applique. Show all posts

Thursday, February 6, 2014

Jeans are ripe for embellishing!

Jean Detail!!

I am so crazy for using fabric with my eBosser. I love pushing the envelope and seeing what I can do with my machine. So without much fuss I created a reverse applique in just a few minutes! It looks great and I can either leave it raw edged or sew down the edges.
This is super fun and just think you can have your favorite shape  added to your jeans or jean jacket. I suggest that you always test first on another item to practice first!
Supplies:
Craftwell eBosser
jeans (take a pair of old ones first)
fabric for the reverse applique
Heat’n Bond
Iron
steel ruled die (sizzix, accuquilt) your favorite one (use a smaller one though)
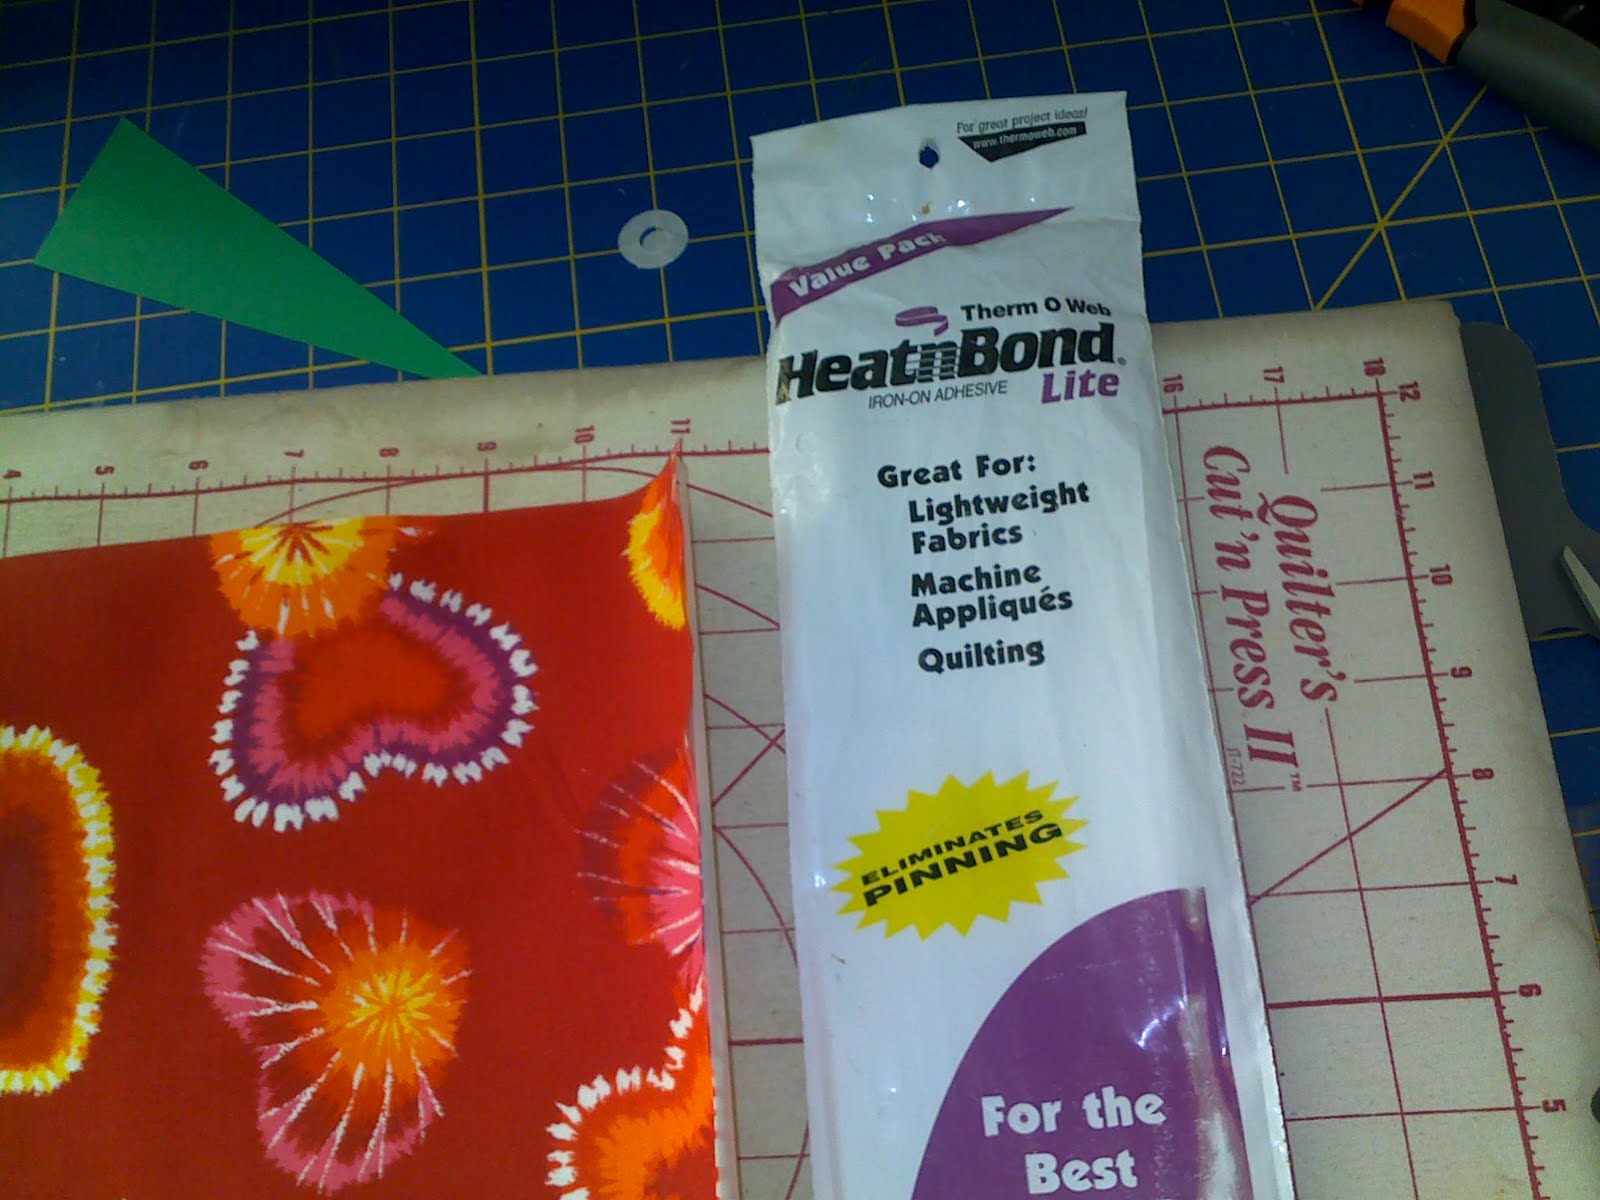
First apply the Heat’n Bond to the area that you are choosing to cut. I put the die inside of my pants leg and then smoothed the remaining fabric around it under the A Plate. I was able to use the C-Plate and then top with the A-Plate. The cut was smooth.
mole2
This is my first step applying the Heat’nBond to the back of the area that I am going to cut. I don’t iron long as it will absorb into the fabric if you hold to long.
1779544_10202029016821665_1419124293_n
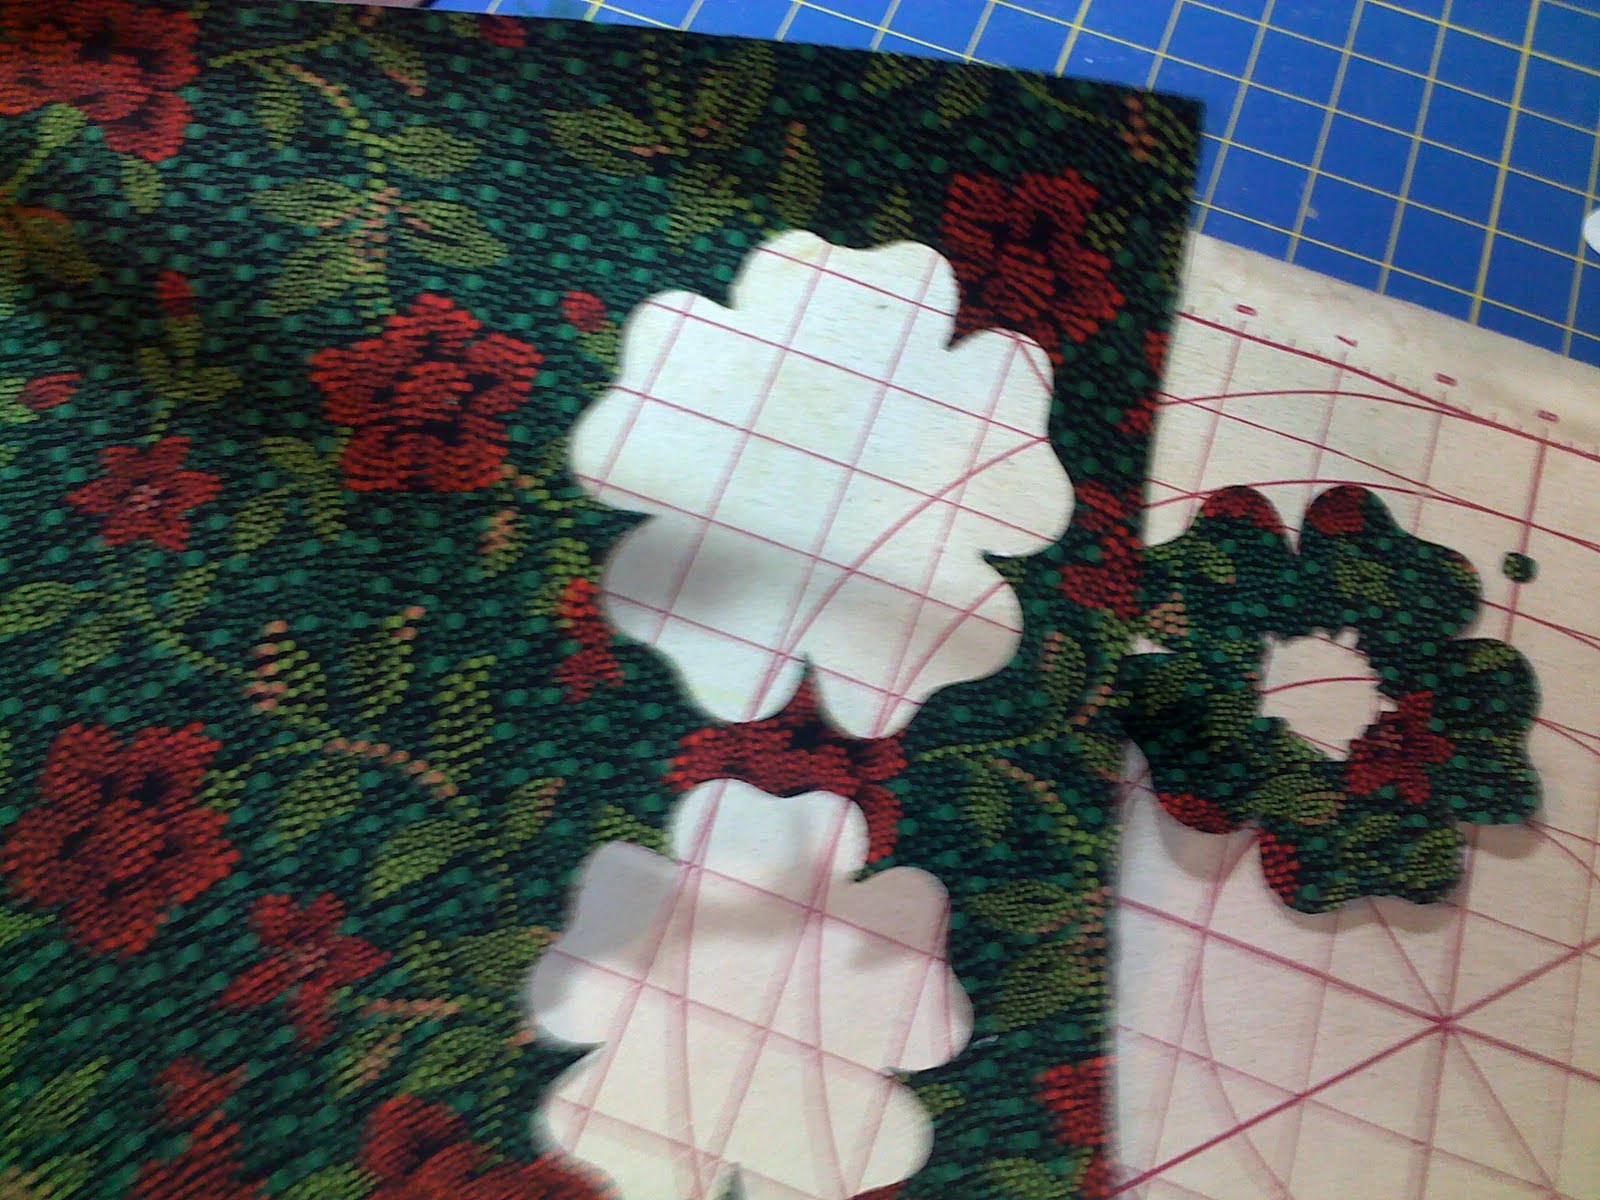
Now this is just to show you after cutting the flourish out I ironed the focus fabric to the heat’n bond so it would show through. I just put the excess cut out on the piece to show you.
mole1
This is a photo of the light press I did to make sure I like how the pattern fell into the cutout. I really enjoyed making this.
Here is my finished pant leg. I can’t wait to wear these. I am very happy with my fancy pants!  I might add a little bling to them as well!
I hope all of you are well and that the cold subsides soon. I am so happy to think that spring might come one day!
best,
Debi

Thursday, June 7, 2012

Vacation “SmasH” Book

Initial Shaped Book to Treasure

Well I was trying to think of a fun thing for my grand-daughter to do each day. I came up with a (I hope) fun memory book for her to make with me each day. I know that I treasure everyday with her and now she will be able to have her own memory book.  She will have to be supervised with it because of small parts but I know she will love creating pages in it.
sbook
Supplies:
  • Cereal box chipboard
  • Craftwell Ecraft Die Cutting Machine
  • light weight cotton fabric from JoAnn’s Fabrics
  • Several Sheets of solid colored cardstock
  • Signify Pink’s Glimpses “Life is a Party” paper and embellishment set 
  • Sewing machine optional
  • xyron 5 inch stamp creator or adhesive of your choice.
I first cut out my “book covers” out of chipboard. I used a heavy font and blacked it out so that I removed the center hole and could use it as a cover piece.
IMG_5744
I used a pressure setting of 7 and a multi-cut of 2, I used no tab setting. I get clean cuts with my ecraft. I also used my Ecraft Pro Software to send my “R” to my machine.
I next covered the front of my “R” with cloth. I embellished it with pre-adhesive cut outs from Signify Pink. They have such great paper and embellishment assortments. Signify Pink want you to know that they have closeout prices and that products are going fast! They  have a pretty good amount of inventory, to meet your needs. . Be aware athat wholesalers can order here:www.signifypinkwholesale.com
If they don't have a wholesale account, there's a place to request it and we do it pretty quickly.
They can look at the retail site, just to see the product though –
www.glimpsesbysignifypink.com  I just love their wild and bright colors. They make my projects just jump to life.
clo
I love the ease of using these great products. They even have lettering, so much to make your project fun.   Next I bound all together at the top so that it would open like a flip chart. That way we have plenty of filling room!
IMG_5747
I love the extras in the SignifyPink packages such as the pinwheels, and banners with baker twine. In my paper assortment there was also a “Scrappy Bag” with fun embellishments. Wait till you see the Black and White grouping, or  better yet find out how to order your own right now at www.glimpsesbysignifypink.com
IMG_5748
I know we will have such fun filling the pages together. Don’t let your special days go without catching some of those memories.
See you next week,
Debi

Tuesday, February 7, 2012

To Hot to Handle!

I love Valentine’s Day and being from a great Cooking state (Louisiana) food and love go hand and hand.

So for my project I decided to give my love some jazzed up goodies for his cooking pleasure! He loves to cook and I am very grateful. So I was totally up for this project.

Hot Love Baby!!!

IMG_4838

This is a quick and easy no sew project! You can sew if you like but I know how busy many are today!

Supplies:

Hand Mitt and Pot Holders from DollarTree!!!

My favorite “Birds of a Feather” Unity Stamps 

one fat quarter or scraps from JoAnn's Fabrics

Fabrico Fabric Markers from SewThankful

CraftwellUSA’s eCraft Personal Die Cutting System!

Heat ‘n Bond heavy (not for sewing) Use the lite if you want to sew it from Walmart

Fundementals 1 Sd card (Came with eCraft)-

Card:

Card Stock - eCraft Diecutable Cardstock from The PaperMill Store

“Birds of a Feather” from Unity Stamps

Prismacolor Pencils from JoAnn's Fabrics

Colorbox Ink pad from Hobby Lobby

CraftwellUSA’s eCraft Personal Die Cutting System!

Adhesive  - 3L Adhesive

IMG_4834

I purchased the pot holders from DollarTree for just 2.00 WOW! I had the dotted Fat Quarter hanging around.  I quickly fused the Heat ‘N Bond to the back of the fabric and placed in my eCraft for quick cutting. I selected the heart design and was able to double cut it so I would have a heart with a hole in the middle for my design. I also used a free SVG from SVGcuts for my trim piece. I love the khaki and red contrast.I did do my stamping before I ironed the pieces on my holders. I stamped with fabric markers so that it would stay during washing. I even colored them it was so relaxing. I took the trim piece and slide it under the edge of the bias on the mitt. I ironed all on very fast. Now you could have stitched around all of this but I like the look that I have.

I hope that you enjoy my quickie project. It can be used for so much more! Hey we are only limited by our imagination! Get out there and love what you do! Wait till you see what I got you for Valentines’ Day next week!!!

Monday, August 15, 2011

Back to School Blog Hop

Welcome to the BACK TO SCHOOL BLOG HOP! All of the fabulous designers

on this hop are showing you a BACK TO SCHOOL project using the

Fabulous and versatile eCraft.
Contest ends 8/22/2011 at 6 AM PDT time...any post after don't count! But check back on the 5th of September for another chance!!!

If you just arrived here from Carley Carter’s blog then you are in the right place. If you just happened upon my blog please start at the beginning over at Raven’s Blog http://love4stamps.blogspot.com/. That way you will be able to see all of the amazing projects and you will have more ways to win.


Here is my project for the hop!


I am a sewing junkie and love quilt blocks and mug rugs. This is my project! I am celebrating Back to School for my friend! I am so excited about all of the wonderful projects that the eCraft is helping me make!


Here is a list of all the designers on the hop in case you get lost

along the way.

Raven Baca http://love4stamps.blogspot.com/


Carley Carter http://the-real-icarley.blogspot.com/


Debi Tullier http://fabric-ecraft.blogspot.com/


Denise O'Connor http://purplepaperparadise.blogspot.com/


Erika Valdez http://www.craftysprouts.com/


Lyssa Zimmerman http://bornagaincrafter.blogspot.com/


Faith Freeman http://faithfulecreations.com/


KimberlyRae Forde http://kreationsbykimberlyrae.com/blog/


Rosa Ahrens http://www.for-micaela.blogspot.com/


Zeni Pradel http://www.scrappyzeni.blogspot.com/


Craftwell USA http://craftwellusa.com/

Okay so you probably want to know what you can win, right? As some of

you may have heard from this hop this amazing eCraft machine that we

are all using is created by CraftwellUSA.com. This company is really

amazing, their customer service is fabulous and the products are top

notch. Well when they heard about our hop they decided to giveaway

One eCraft to One lucky winner (color may vary).


1.) Please leave one comment here on my blog (Only one comment will be

qualify per person additional comments will not count.)

2.) Stop by eCraft’s facebook page http://www.facebook.com/ecraftbycraftwell to

see more awesome projects and tutorials.
3.) I would love it if you’d become a follower of my blog but it isn't necessary.


Remember, We are also having another blog hop on September 5th. ALL comments

left today and on the September 5th blog hop will be eligible to win

the eCraft so this will give you more chances to win. (1) One lucky

winner will be announced on Raven’s blog http://love4stamps.blogspot.com/ on September 10th. The winner will also be listed on the eCraft Facebook page http://www.facebook.com/ecraft​bycraftwell (see why it’s a good idea to like eCrafts facebook

page ;)


All are welcome to hop, however the eCraft giveaway is only open to

U.S. entries. Thank you so much for your understanding.

Thanks for stopping! Your next blog is Denise O'Connor http://purplepaperparadise.blogspot.com/

I decided to make a quilt block, will probably become a mug rug, or a front tote panel. I am just excited to share how easy it is to cut fabric with an Ecraft machine. I love it so!
Here we go:
First I found that using my Ecraft was a joy to complete this project. I experimented with a new method for cutting fabric with the Ecraft. I used freezer paper and also "Heat-N-Bond" light to stabilize the fabric.
For my appliques I decided to use SVGCuts Version 3. I also looked into my files and decided to use my text wingdings to create the images that I wanted for this project. I decided on a bus front, then found a wingding to represent the occupants and also to show how delicate the cut is on the ecraft I also cut some pencils to creat a fun border. You can download many symbolic text files and images from free font sites.
You can see how cleanly the bus cut out with the wax paper ironed on it. I used cotton fabric and ironed the wax paper cut out in 12 x 12 squares to both sides. You can use the leftover paper again. I did not put the "Heat-N-Bond" lite on this piece. It was just a matter of choice. I decided to use a temporary basting spray to apply it to my background fabric.
I put the "Heat-N-Bond" on the people in the bus and also on the pencils I used to frame the bus. You can see how delicate the cut was and the Ecraft cut my fabric without a problem. I find if I do not apply freezer paper to both sides it sometimes pulls the fabric and I have to abort the cut.


So now I apply it to both sides. Next I placed the pieces where I wanted them and then took out my mini iron and pressed the "Heat-N-Bond" items in place.
After placement I add the batting and then the bottom piece of fabric to make my quilt sandwich.
I decided on the stitch I wanted to put around the bus and set the machine up. It was so much fun, I decided to pin stitch it.

Then came the fun embellishment part. I used black thread to make the grill and also to frame the windows.

I forgot to mention that before I cut the items out that I used my drawing pens to see how the cuts would place on the material. The Ecraft has a pen that stays in place while the blade is also attached so that you can set it up in the SCAL program to only draw the item versus cutting it. That way you can see how to place your freezer paper encased material in the machine.

I then stipple stitched around the bus and the crayons. I love this stitch and get relaxed as I sew it.

I am very pleased with the outcome. If you would like more information please feel free to contact me.

Sneak preview of my next cut out for a cool design.

Also working on some Trick or Treat goodies..
Can't wait to see who wins, so see you again on the 5th of September for the next Hop don't forget. I hope you won't forget to come back again and see as I complete my other projects. Please feel free to leave me some comments and also become my follower. I will have many things coning in the near future!
Thank you for coming by!